
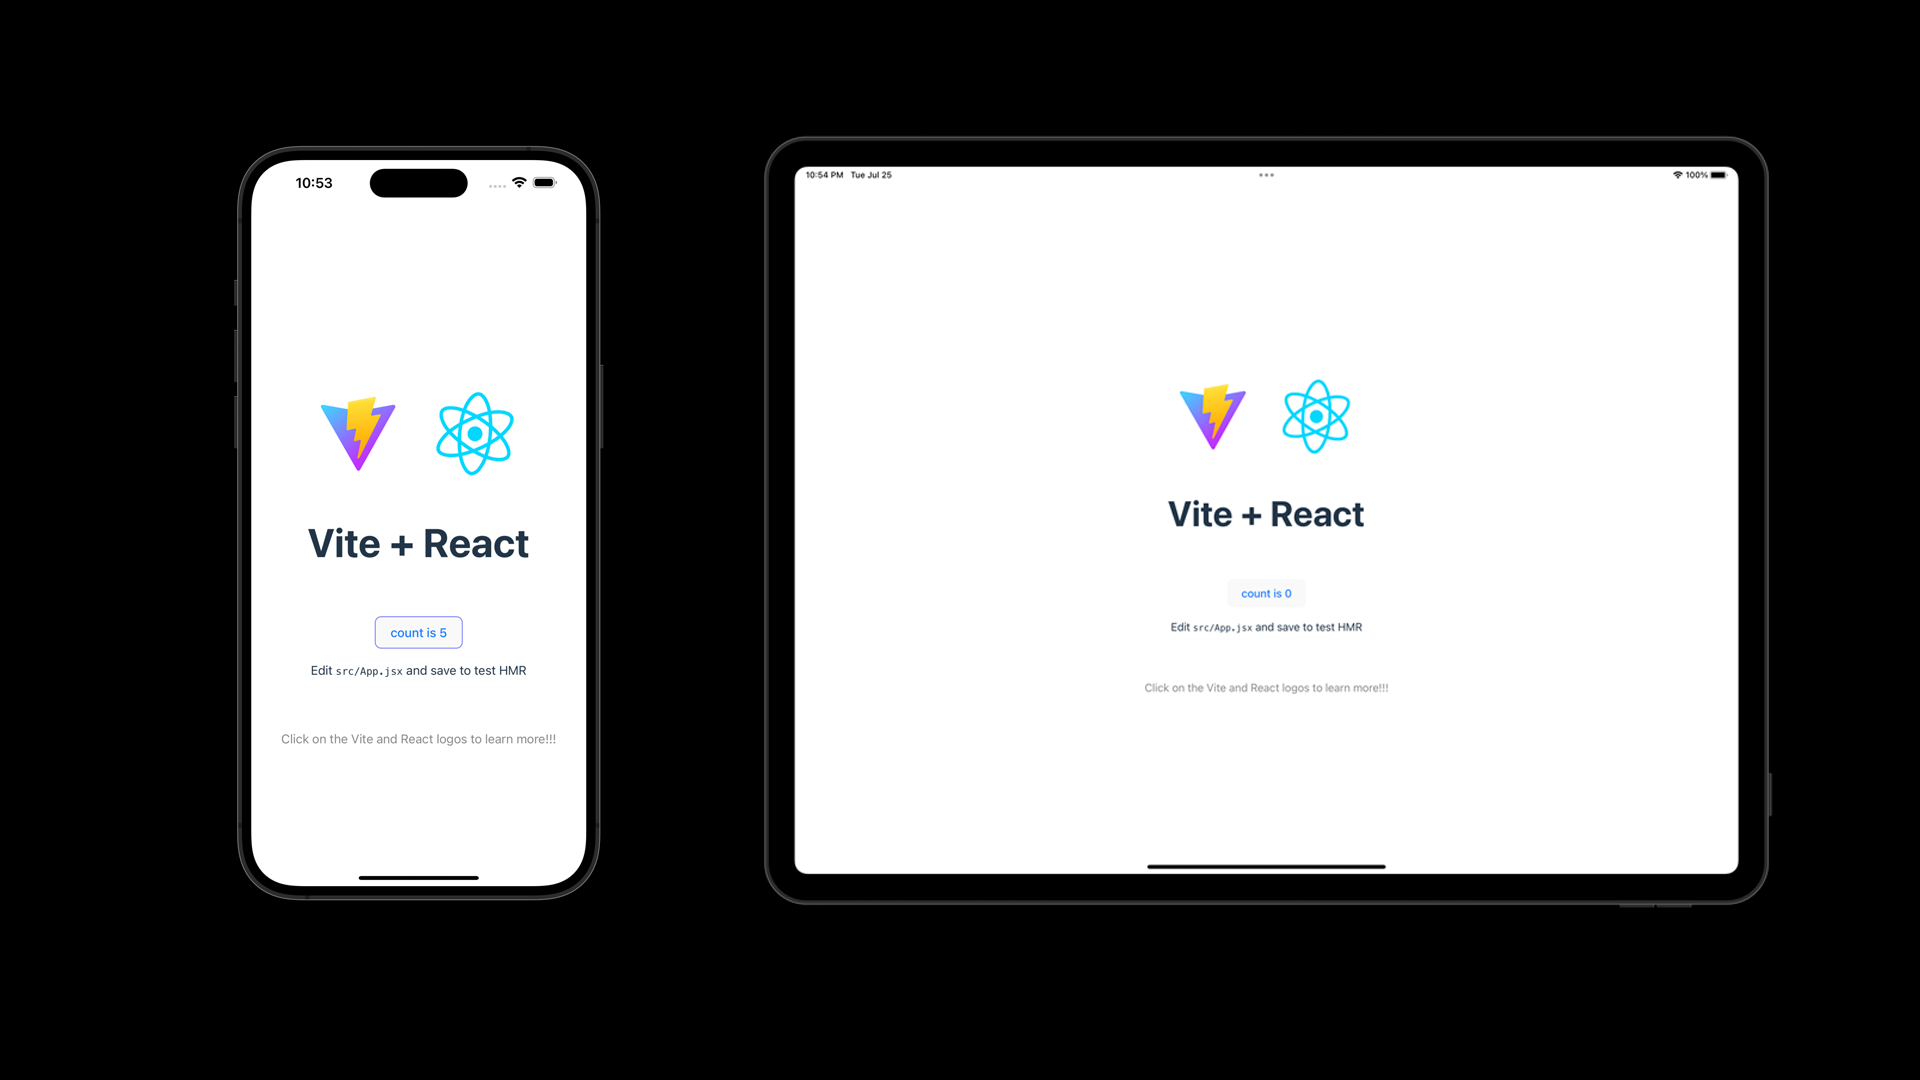
There are just times where you need to run your React web app from a mobile phone locally. That means running it completely without the cloud, 100% offline-first, and absolutely zero remote server calls. This tutorial will show you how you can bundle your Vite and React app into an iOS app and load it in a WKWebView. This is what we'll be building:
If you are just interested in the final result, you can find the source code for this tutorial on GitHub.
Prerequisites
- Xcode 14.x or higher
- It's highly recommended that you use nvm to manage your Node.js versions. This tutorial was written using Node.js v20
1. Set up your directory structure
For this project you'll need a good directory structure to set up both your web and iOS project.
mkdir react-in-mobile
2. Create a React App with Vite
For this tutorial, we will use the very popular Vite tooling to generate our React app. Vite is a very fast, very convenient toolbox for building web applications in React, Vue, Svelte, Vanilla JS and more. It comes with an amazing build system and development hot-module-reloading (also known as HMR) features. For this tutorial, you don't have to use React! You can use other frameworks like Vue or Svelte - Vite supports them all!
cd react-in-mobile
npm init vite@latest web -- --template react
This will create a new directory called web with a React app inside of it. For this tutorial, we're not going to change too much from the boilerplate React app. At this point you will need to install the dependencies for the web app.
cd web
npm install
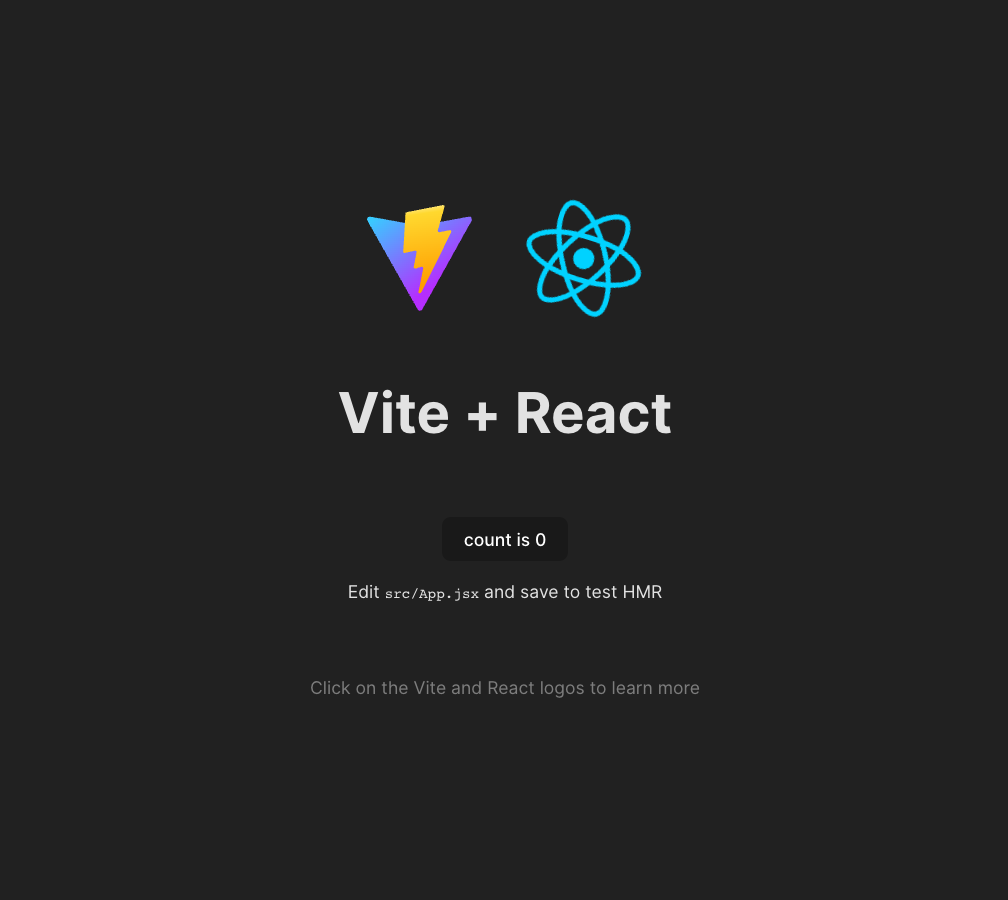
You can run the app by running npm run dev inside of the web directory. In your terminal, Vite should print out a URL that you can open in your browser to see the app running. It should look like this.
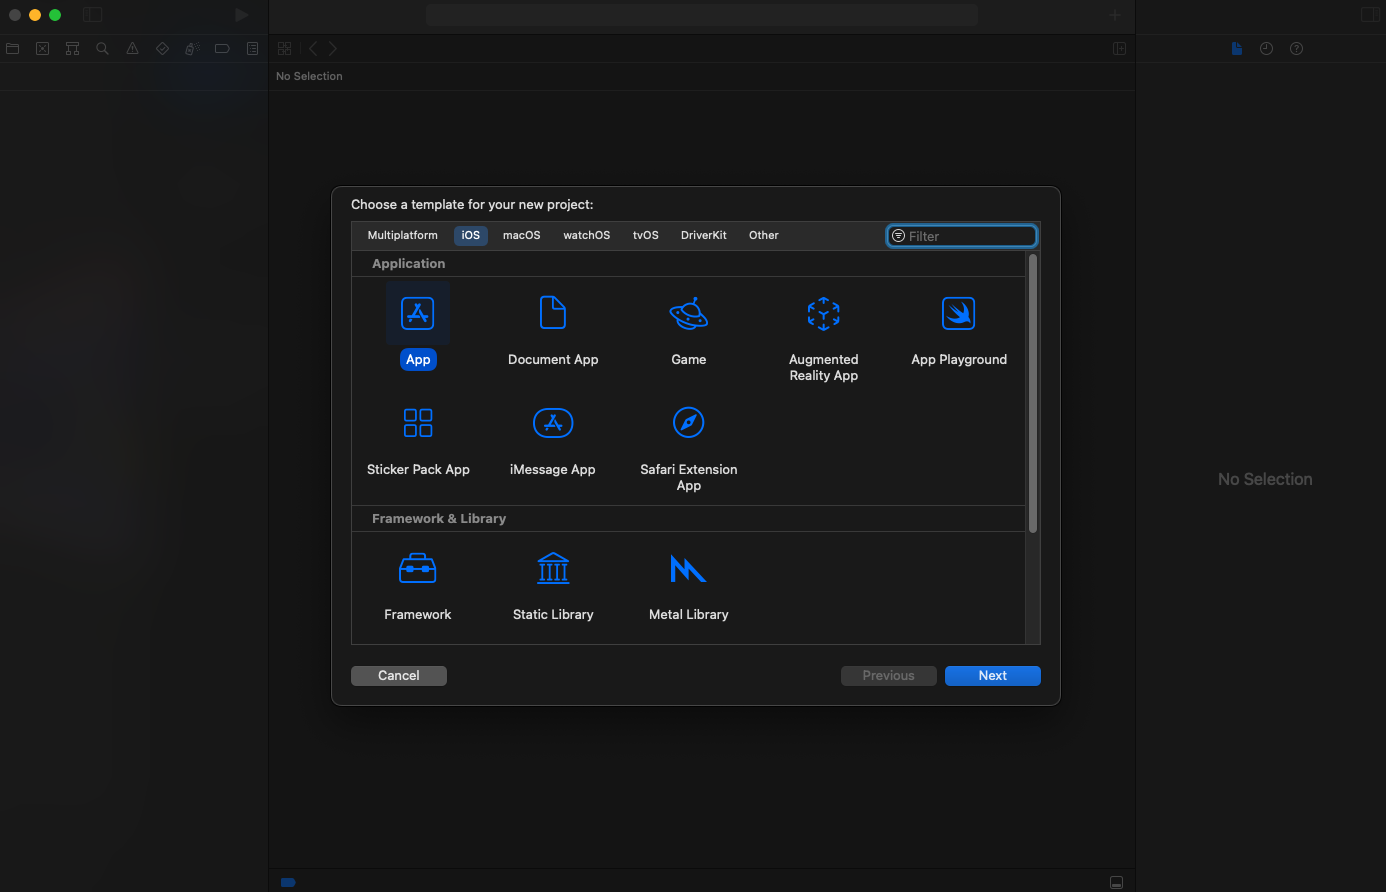
3. Create an iOS App
Open up Xcode and create a new iOS app. This project will use SwiftUI. You can use UIKit if you want, but you'll have to modify the code in this tutorial to work with UIKit. For this tutorial, we're going to use SwiftUI.
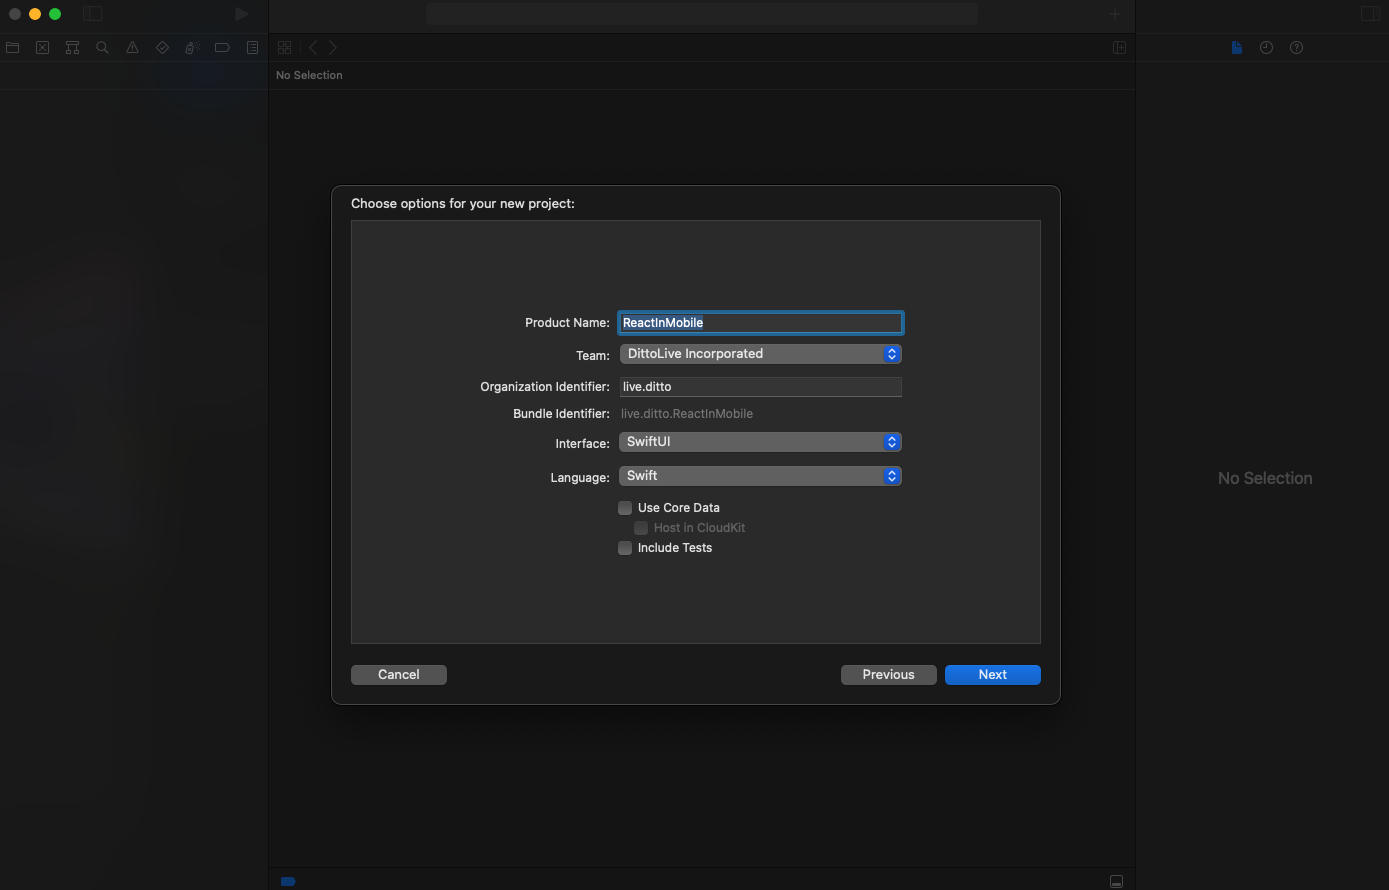
We're going to call our app ReactInMobile. I recommend that you put this project next to the web directory. This will make it easier to copy the web app into the iOS app later.
Your directory structure should look like this:
react-in-mobile
  /web # this is the web app
  /ReactInMobile # this is the iOS app
4. Create a WebView in SwiftUI
The key UI component to render Web content in iOS is called WKWebView. Unfortunately, there is no SwiftUI wrapper for this component, so we'll have to create one ourselves. Create a new file called WebView.swift and paste the following code into it. WKWebView is a subclass of UIView, so we'll need to use UIViewRepresentable to create a SwiftUI wrapper for it. Fortunately, this isn't very difficult.
import SwiftUI
import WebKit

/**
 * There isn't a SwiftUI equivalent of `WKWebView`
 * This is a wrapper user to configure and read the local dist/index.html file
 */
struct WebView: UIViewRepresentable {

    let url: URL

    func makeUIView(context: Context) -> WKWebView {
        // configuring the `WKWebView` is very important
        // without doing this the local index.html will not be able to read
        // the css or js files properly
        let config = WKWebViewConfiguration()
        config.preferences.setValue(true, forKey: "allowFileAccessFromFileURLs")
        config.setValue(true, forKey: "allowUniversalAccessFromFileURLs")
        // set the configuration on the `WKWebView`
        // don't worry about the frame: .zero, SwiftUI will resize the `WKWebView` to
        // fit the parent
        let webView = WKWebView(frame: .zero, configuration: config)
        // now load the local url
        webView.loadFileURL(url, allowingReadAccessTo: url)
        return webView
    }

    func updateUIView(_ uiView: WKWebView, context: Context) {
        uiView.loadFileURL(url, allowingReadAccessTo: url)
    }
}
It's very important to add allowFileAccessFromFileURLs and allowUniversalAccessFromFileURLs to the WKWebViewConfiguration. Without these, the local index.html will not be able to read the css and js files properly.
5. Setup an iOS Build Script
Now comes the fun part!
We're going to use a build script to build the web app and copy it into the iOS app. This is a very powerful technique that you can use to build and copy any kind of file into your iOS app. For this tutorial, we're going to use a simple shell script to build the web app and copy it into the iOS app.
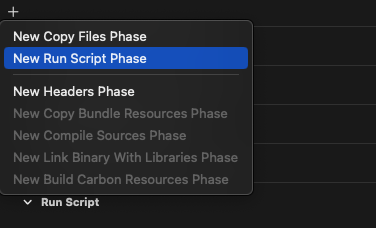
We'll need to create a Run Script.
- Go to targets and select your iOS app target
- Go to Build Phases tab
- Click the + button and select New Run Script Phase
-
Some text boxes will appear below the Run Script section. You can drag the Run Script section to move it up and down in the list of build phases. You'll want to move it above the Compile Sources phase.
-
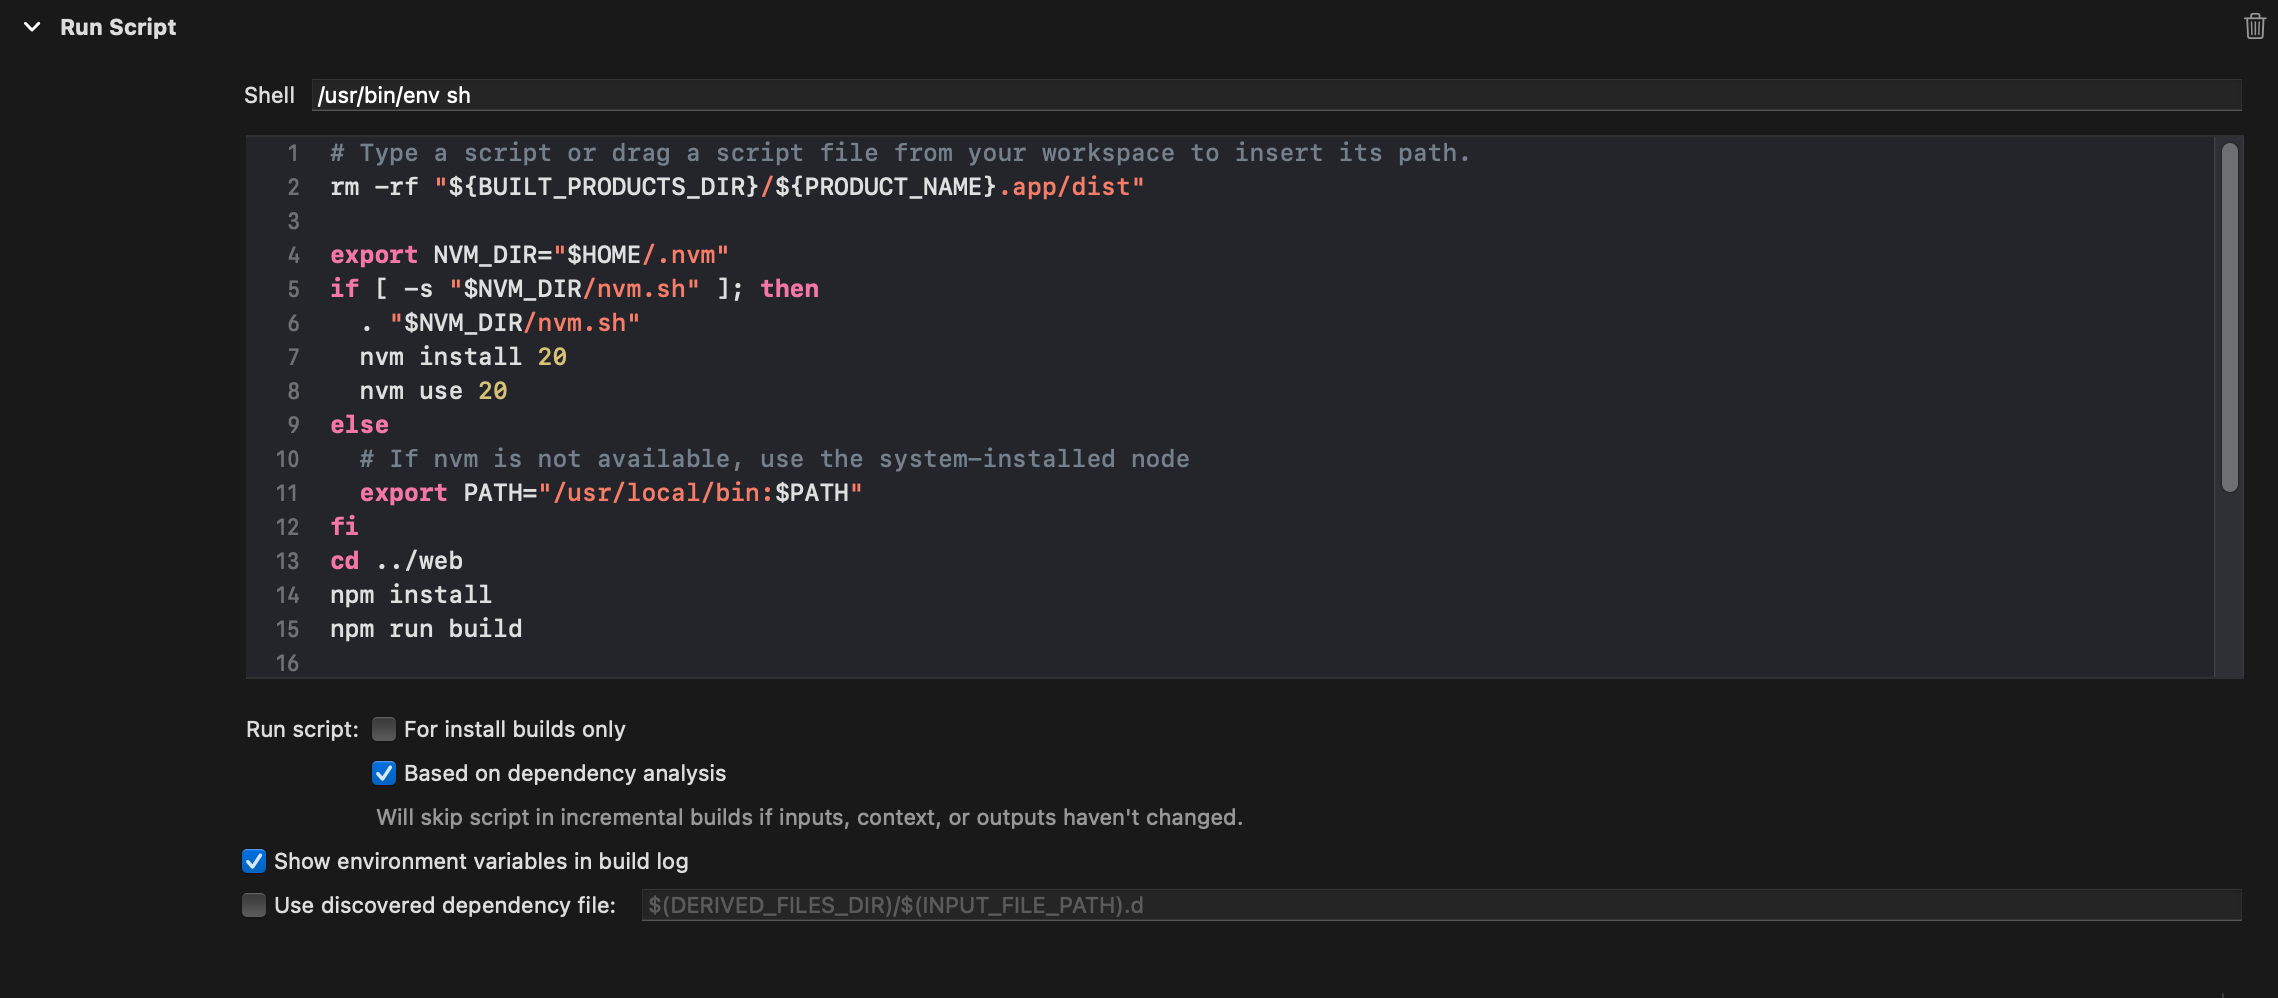
For the Shell, use your shell, but I've found that the basic macOS environments have nvm accessible here: "
/usr/bin/env sh" -
For the contents:
# This will clear the dist directory in the iOS app if there is one from a previous build
rm -rf "${BUILT_PRODUCTS_DIR}/${PRODUCT_NAME}.app/dist"

# This will use nvm to install Node.js v20 and use it to build the web app
# If Node.js 20 is already installed, it will use that
export NVM_DIR="$HOME/.nvm"
if [ -s "$NVM_DIR/nvm.sh" ]; then
  . "$NVM_DIR/nvm.sh"
  nvm install 20
  nvm use 20
else
  # If nvm is not available, use the system-installed node
  export PATH="/usr/local/bin:$PATH"
fi
# This script will go up a directory to find the web app
cd ../web
# This will install the dependencies for the web app (if they are not already installed)
npm install
# This will build the web app
npm run build
Your "Run Script" should look like the following:
-
We have finished a Run Script that will build the web app. The web app builds all of it's final artifacts (index.html, css, and js files) into
../web/dist. We need to copy this../web/distdirectory and bundle it into the iOS app's resources directory. There should be a Build Phase called "Copy Bundle Resources". Click the "+" button and select "Add Other...". -
Now navigate to
../web/distand select thedistdirectory. This will copy thedistdirectory into the iOS app's resources directory. Ensure that the "Copy items if needed" and "Create folder references" are selected.
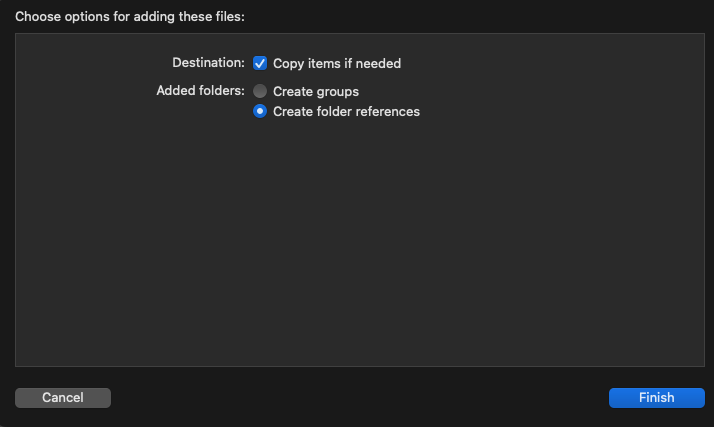
Now your "Copy Bundle Resources" should look like the following:

Commentary on the Run Script
- We are using NodeJS 18 and we'll try to use it from nvm if it's available. If nvm is not available, we'll use the system-installed NodeJS. If you don't use nvm we still recommend that you stay consistent with your NodeJS versions.
- We are using
npm run buildto build the web app. This will build the web app and put it in thedistdirectory. This is the default directory for Vite to put the built web app. - For most use cases that follow the default nvm installation configuration, this script should work out of the box. If you have a different setup, you may need to modify this script to work for you or a different shell. Most Run Scripts will be able to use "
/usr/bin/env sh" but be prepared to change this if you need to depending on your shell or environment. - The Run Script will always run
npm buildand copy the "../web/dist" directory into the bundle resources directory.
6. Load the Web App in the iOS App
Now that we have the web app built and copied into the iOS app, we can load it into the WKWebView. Open up ContentView.swift and replace the Text("Hello, world!") with the following code.
struct ContentView: View {
    var body: some View {
        WebView(url:
          Bundle.main.url(
            forResource: "index",
            withExtension: "html",
            subdirectory: "dist")!
            )
            .ignoresSafeArea()
    }
}
Now if you run your app you should see the following!
7. Conclusion
Sometimes you have code that you can't just port over to an iOS app. This is a very powerful technique that you can use to run any kind of web app locally from an iPhone, iPad or even Mac Catalyst or Mac App. If you aren't familiar with Vite, you can use Webpack or any other bundler technique. What's important is that you understand how to clear, bundle and copy the final JavaScript build artifacts into iOS and learn how to load it in to WKWebView. I hope you have found a new way to build offline-first apps that don't rely on the cloud even if it's a web app!
Coming up, we'll be doing more posts like:
- How to run a React Web App locally in Android
- Swift to JavaScript communication
- Kotlin to JavaScript communication